2. Je profiel invullen
Laten we beginnen met het nieuwe menu 'Profielinstellingen' .
Zoals je kunt zien, is je profiel nu verdeeld in vier secties:
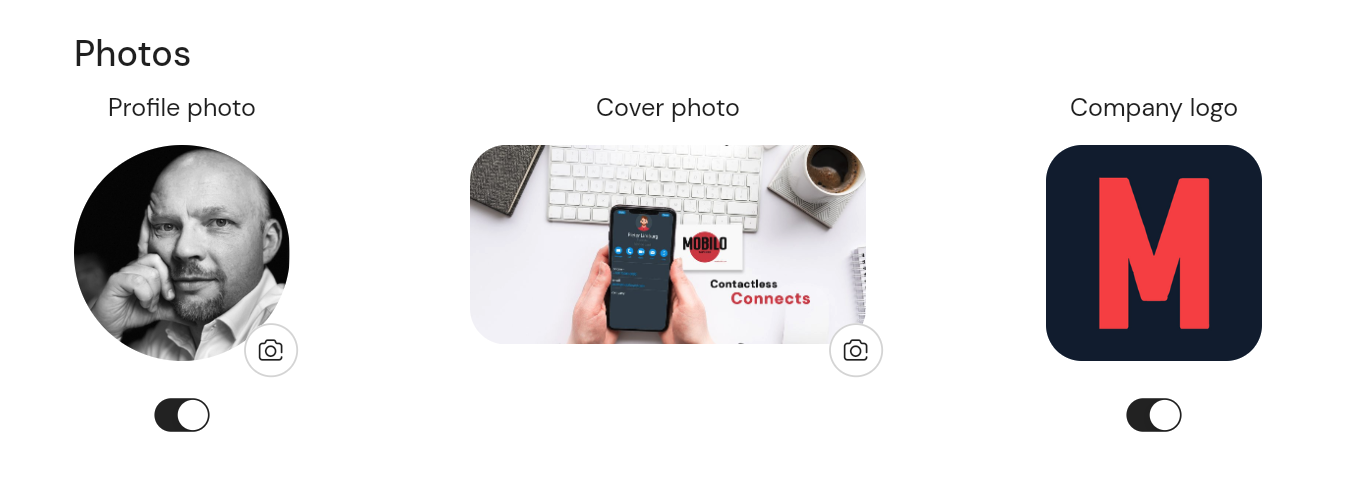
Foto's: Hier voeg je je profielfoto en omslagfoto toe en zet je het bedrijfslogo aan of uit:

Over: Hier kun je je volledige naam, functie, bedrijf, adres en notities toevoegen.

Thema: Hier bepaal je hoe je landingspagina eruitziet.
De knop 'Thema' heeft kleurregelaars om de kop-, achtergrond- en tekstkleuren aan te passen.

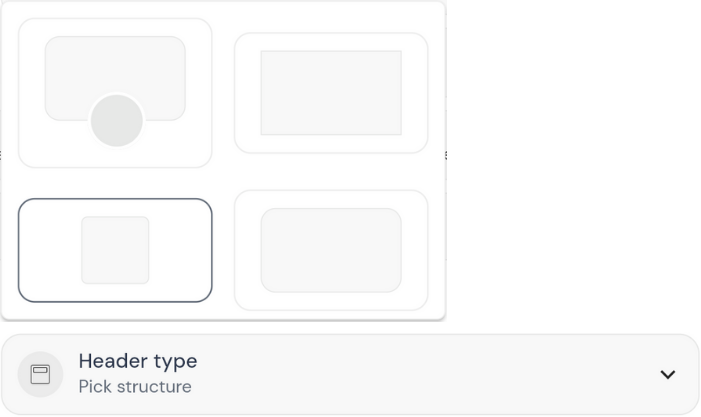
Koptype: Hiermee kun je schakelen tussen vier verschillende stijlen:

Optie 1: Een profielfoto toevoegen bovenop je headerontwerp.
Deze optie creëert een visuele verbinding tussen je afbeelding en de algehele branding van je landingspagina en voegt een persoonlijk tintje toe.
Optie 2: De header-achtergrond of het kaartontwerp weergeven met scherpe randen en zonder profielfoto.
Deze optie biedt een strakke, moderne look, waardoor je inhoud centraal staat in een strakke, minimalistische stijl.
Optie 3: Geen koptekst en een groter vierkant kader voor de profielfoto.
Bij deze optie ligt de nadruk op een prominente profielfoto, die je identiteit meteen weergeeft aan je contacten.
Optie 2: Je kaartontwerp of een andere afbeelding weergeven als header zonder profielfoto.
Deze optie benadrukt je boeiende kaartontwerp of een aangepaste afbeelding die je merk of persoonlijke stijl vertegenwoordigt zonder een profielfoto.
Inhoud: Hier kun je bepalen welke informatie wordt gedeeld door je persoonlijke landingspagina (wat je contacten zien als de kaart wordt aangetikt) en de contactkaart (wat je contacten downloaden).
Door op de knop 'Inhoud toevoegen' te klikken, krijg je een lijst met alle links en inhoud die je aan je profiel kunt toevoegen.

Selecteer alle links die je wilt delen op je landingspagina en klik erop om ze te bewerken. Er verschijnt een nieuw menu waarmee je de linkdetails kunt aanpassen. Wijzig de titel van de link om deze beschrijvend en relevant te maken. Voeg een korte beschrijving toe om extra context of informatie over de link te geven. Pas de kleuren van het pictogram en de knop aan zodat ze overeenkomen met je huisstijl en ontwerpvoorkeuren. Je kunt zelfs een aangepast pictogram uploaden om de link nog persoonlijker te maken.
Herhaal hetzelfde proces om andere koppelingen toe te voegen, zoals e-mailadressen, telefoonnummers of sociale-mediaprofielen. Pas de details van elke koppeling aan om ervoor te zorgen dat ze zinvol en nuttig zijn voor uw contactpersonen.
Als je een video wilt weergeven, klik je op het "YouTube"-pictogram, voeg je de videolink toe en klik je op de knop "Opslaan". De video wordt dan ingesloten op je landingspagina zodat je contactpersonen hem kunnen bekijken.
Klik op de knop "Tekst" om een gedeelte "Over ons" of andere tekstinhoud toe te voegen. Gebruik de optie "Koptekst" om vette en opvallende titels te maken. Gebruik de optie "Body" voor een normaal lettertype, dat geschikt is voor langere beschrijvingen of biografieën.
Om afbeeldingen aan je landingspagina toe te voegen, klik je op de knop "Afbeelding". Gebruik de knop "Uploaden" om een afbeelding van je computer te selecteren. Voeg optioneel een bijschrift toe om extra context of informatie over de afbeelding te geven.
Zodra je alle gewenste inhoud hebt toegevoegd aan je persoonlijke landingspagina, sla je je wijzigingen op om ze toe te passen.

.avif)
